 EN
EN

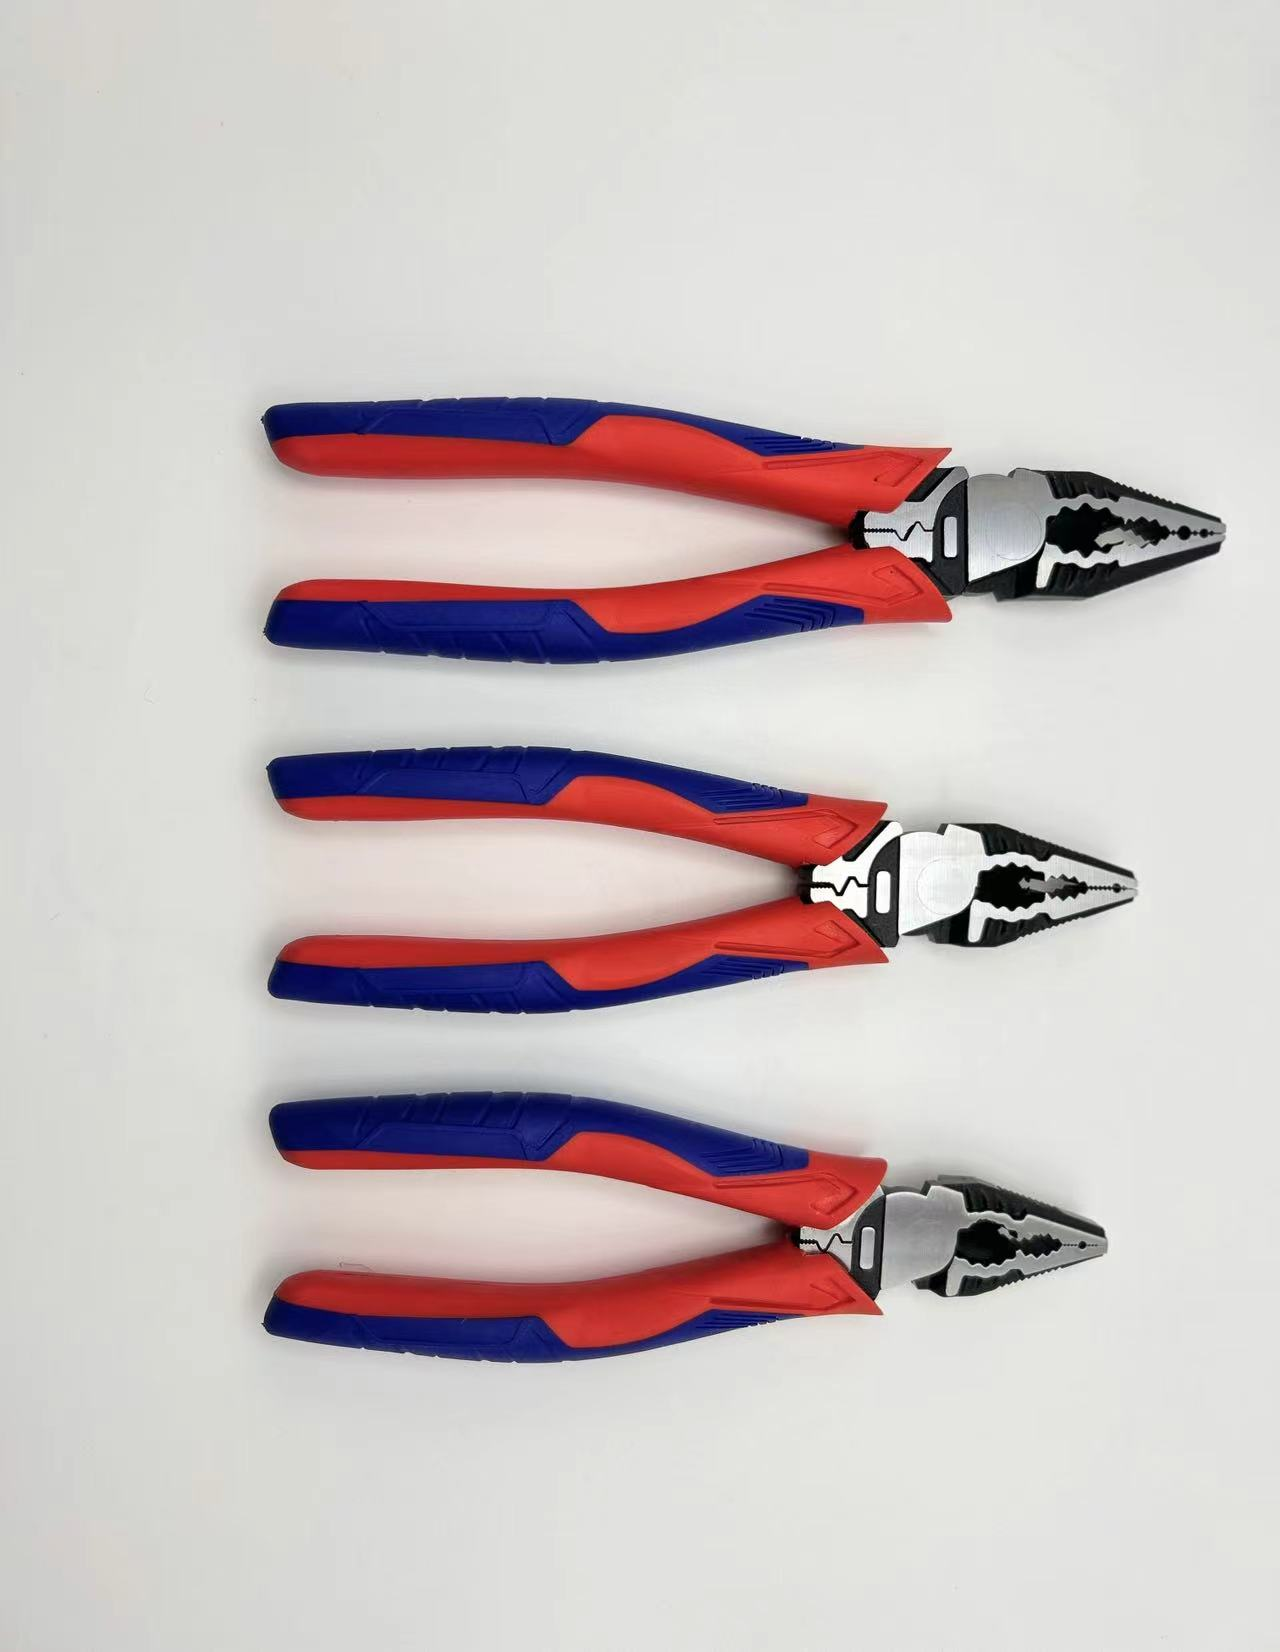
Title: We've Ruined More Terminals Than We'd Like to Admit – Here's What We Learned About Matching Tools to Wires
By our assembly & quality team
I have a drawer full of failed crimps. Some crushed. Some loose. Some that looked perfect but pulled apart with one tug. Every single one was made with the wrong tool for the job – and we kept them as a reminder.
After 15 years of building wire harnesses for industrial equipment, I can tell you this: the most expensive crimping tool is the wrong one. Here's what we've learned the hard way.
The "universal" tool cost us 67% of our warranty claims.
We used to buy universal crimpers because they were cheap and seemed to do everything. Then we started tracking warranty returns. Over 60% of our electrical failures traced back to crimps made with those "universal" jaws.
We cut open the failures under a microscope. Ring terminals with uneven indentation on one side. Butt connectors with oval crimps that were actually triangular. Ferrules where the strands had splayed out instead of compressing together. One tool, many failures. We replaced them all with terminal-specific tools and our field failure rate dropped by more than half in one quarter.
AWG mismatches – the mistake we made on 10% of our first batch.
I'll never forget the job where we had 300 crimps to do on 16 AWG wire, and someone grabbed the die labeled "10-12 AWG." The crimps felt tight. They looked fine. We shipped it.
Two months later, the customer reported intermittent issues. We flew out, cut open five crimps on-site, and pulled the wire out by hand. No tool required. The terminal barrel hadn't even touched the strands on the bottom side. That under-compressed crimp had 30% less pull-out resistance than it should have. We reworked the entire harness at our own cost – a $7,000 mistake that taught us to label every die cavity with tape AND a permanent marker.
Hexagonal vs. indent – we ran a vibration test that settled the debate.
We mounted two sets of crimps – one hexagonal, one indent – on a vibration table at 20 g for 500 hours. The hexagonal crimps: all intact, pull-out force within 2% of baseline. The indent crimps: three out of twenty had loosened, and two had completely failed the pull test afterward.
That was the day we switched our production crimp specification to hexagonal across the board. Yes, indent is faster. But we make safety-critical harnesses. Speed isn't worth the risk.
The 20‑g vibration test that changed our production crimp specification.
Our customer required vibration testing per UL 486A. We had to prove our crimps could survive 20 g. The indent crimps started showing resistance drift around 200 hours. By 350 hours, the contact resistance had increased 40% on two samples. The hexagonal crimps? Rock solid through 500 hours.
Now we specify hexagonal dies for every terminal that sees vibration. It's written into our process control documents. No exceptions.
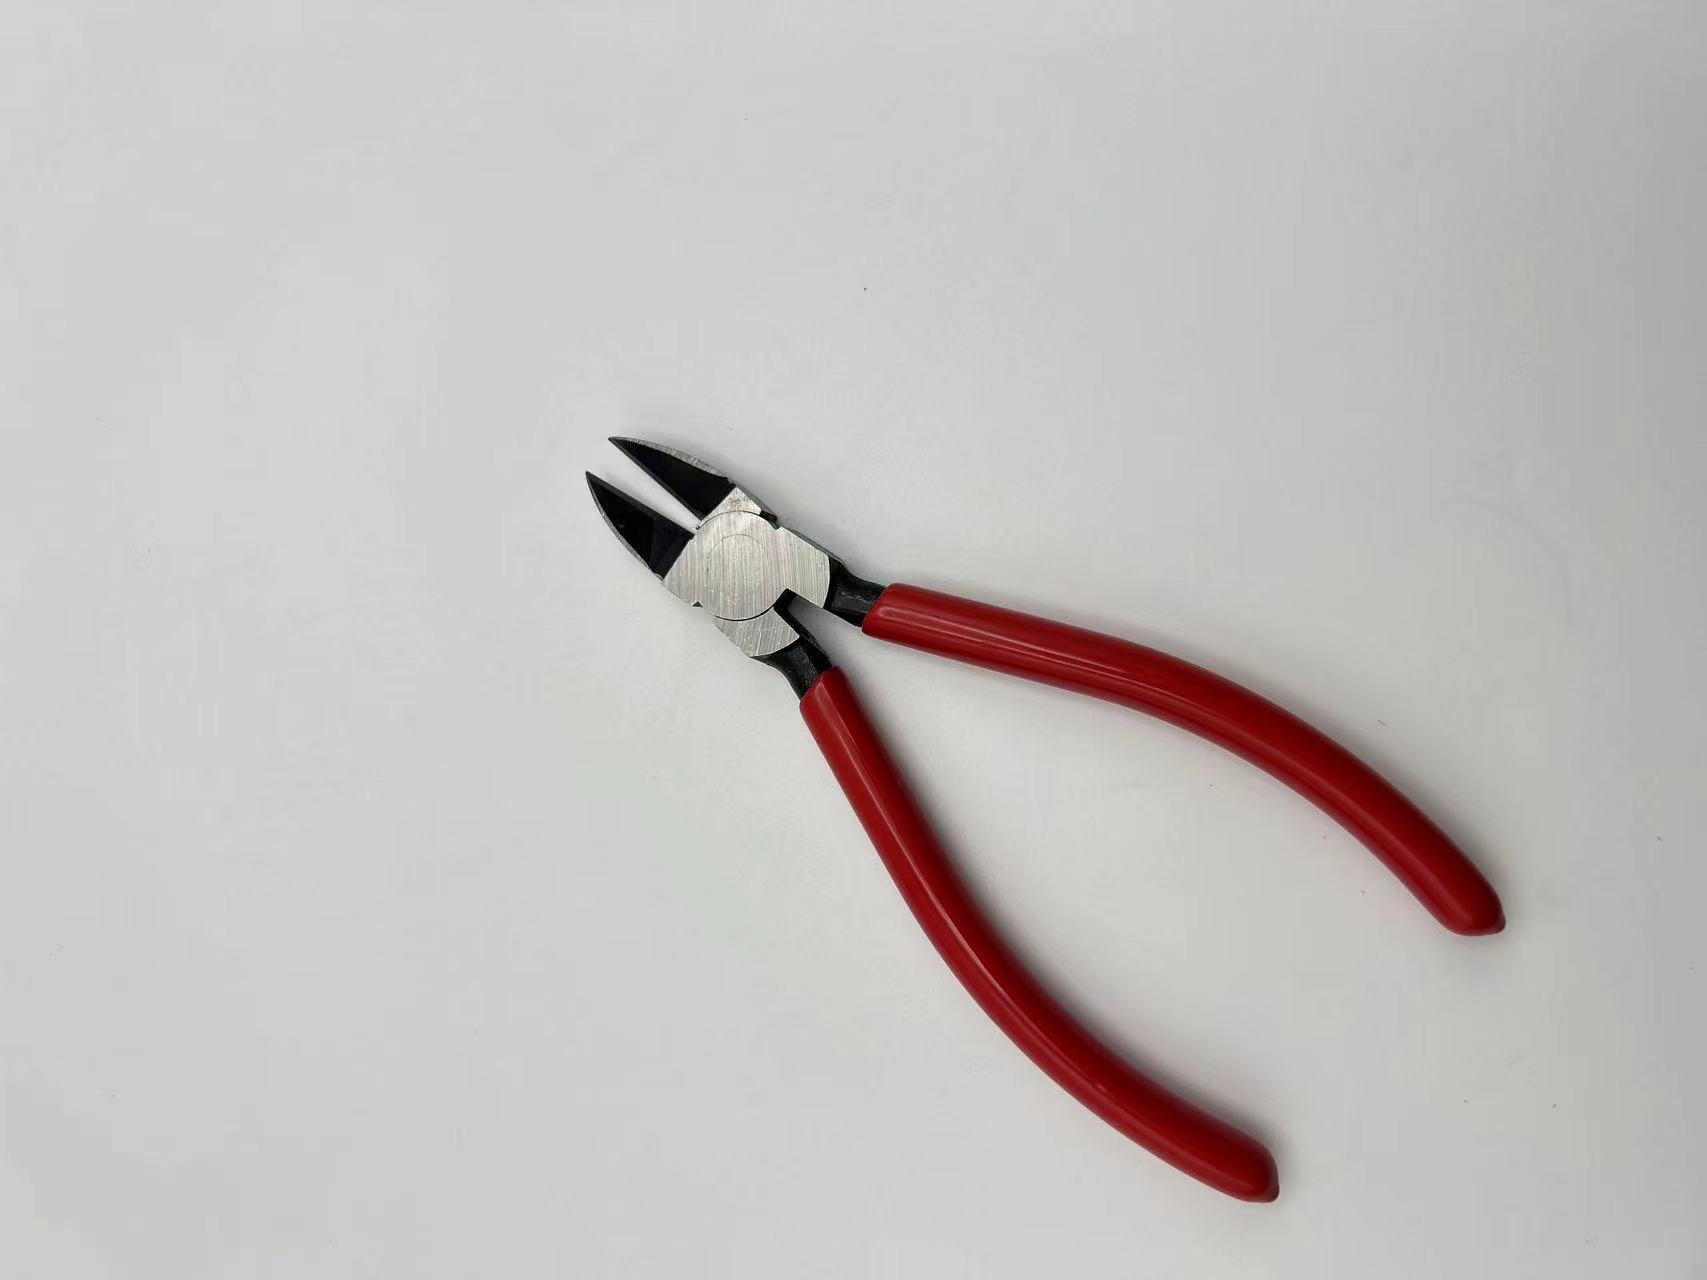
Handheld vs. hydraulic – we had to buy both.
We thought we could get away with handheld ratchet crimpers for everything up to 4/0 AWG. We were wrong. On a 150‑crimp job with 2/0 lugs, three operators took turns and still had sore hands the next day. The crimp force consistency also varied between operators – the strongest guy was over-crimping, the weakest was under-crimping.
We bought a hydraulic crimper for that job. It paid for itself in labor savings in two weeks. Now we use handhelds for field repairs and small‑gauge work, hydraulics for the heavy stuff, and battery-powered for anything with more than 200 crimps on a single job.
The battery‑powered tool that changed our field operations.
We had a field team doing on‑site repairs for a transit authority. They were using manual crimpers and complaining about fatigue and inconsistent crimps. We switched them to a battery‑powered unit with force control. The first week, one of the techs called me and said, "I don't have to go to the chiropractor anymore."
More importantly, the crimp consistency improved. We started measuring every tenth crimp with a height gauge – the battery tool stayed within ±0.02mm across 500 crimps. The manual tool varied by ±0.05mm between operators. That's enough of a difference to affect pull-out strength.
What we check now, every single time:
-
Terminal type first. Ring, spade, butt, ferrule – each gets its own die set.
-
AWG match. We verify the wire gauge before we pick up the tool, not after.
-
Crimp style. Hexagonal for vibration. Indent only for bench work on non‑moving equipment.
-
Tool mechanism. Handheld for field and small runs. Hydraulic for lugs above 2 AWG. Battery‑powered for anything over 200 crimps.
-
Pull test. We pull one sample every 50 crimps to 100 lbf. If it fails, we stop and recalibrate.
The one tool we should have bought years earlier.
We finally invested in a calibrated crimp height micrometer. It was $400. It found a die set that was 0.04mm out of tolerance before we ran a production batch – not after. That $400 tool saved us a potential 200‑crimp rework that would have cost $2,500 in labor alone.
I tell every production manager I meet: buy a height gauge. Put it on the bench. Use it every hour. It'll pay for itself before the first shift ends.