 EN

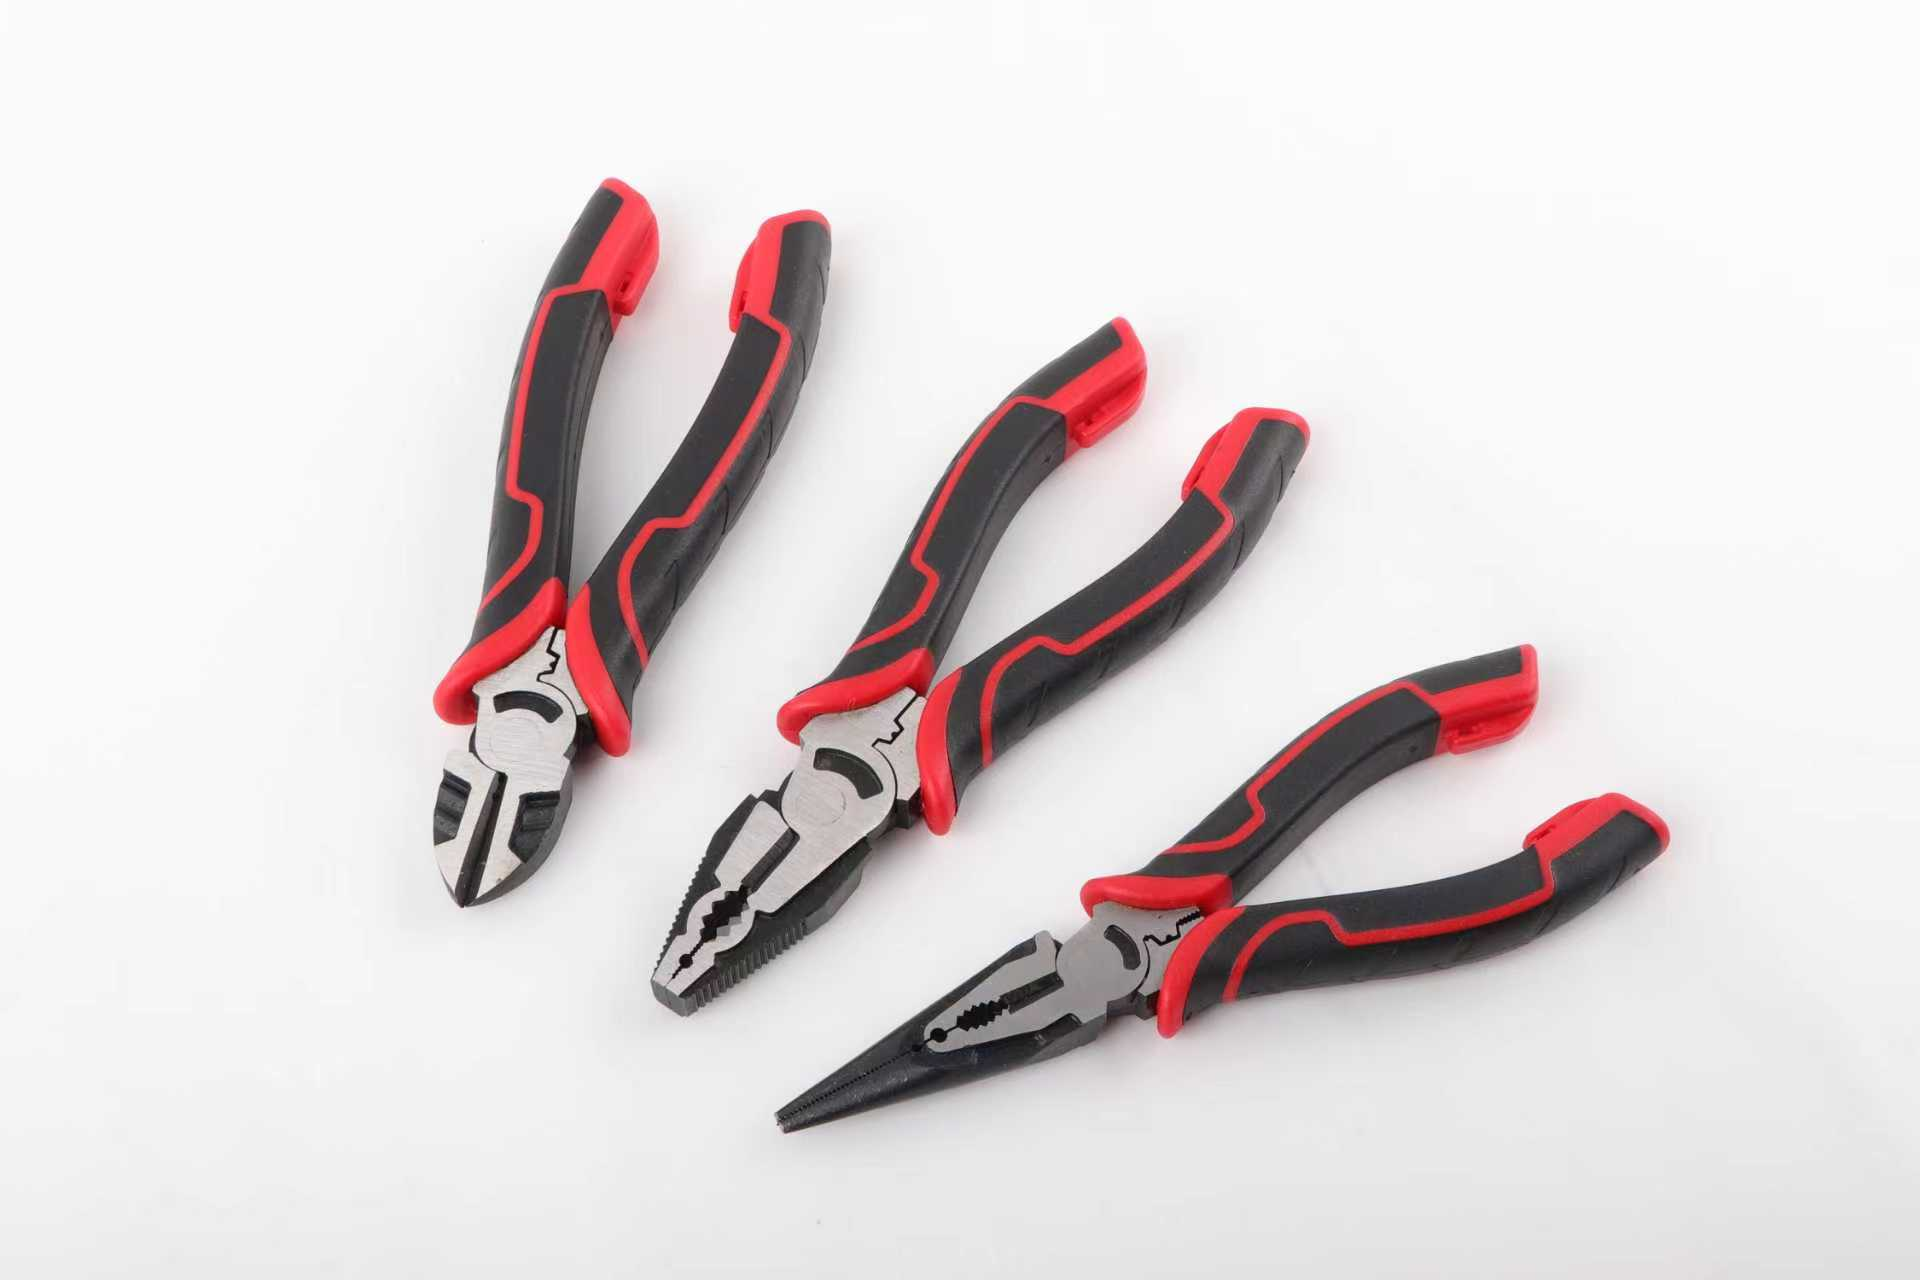
Choosing the Right Wire Stripper for Your Application
Selecting the right wire stripper starts with understanding the wire: conductor material (copper or aluminum), solid vs. stranded construction, insulation type, and precise American Wire Gauge (AWG) size. Standard manual strippers typically cover 10–22 AWG—ideal for general electrical work—while precision models handle fine electronics wire down to 30 AWG and smaller. For repetitive production or panel assembly, self-adjusting automatic strippers reduce hand fatigue and improve consistency, though build quality and blade durability outweigh flashy features. Gauged strippers offer simplicity when markings are clear and legible; adjustable models require more setup but provide flexibility across a broader range of gauges.
| Tool type | Best application | Selection note |
|---|---|---|
| Manual stripper | General-purpose 10–22 AWG work | Choose clear gauge markings and comfortable grips |
| Automatic self-adjusting | Repetitive stripping at scale | Test reliability before high-volume use |
| Precision stripper | Thin wire, electronics, audio | Match exact insulation diameter and gauge |
| Multifunction stripper | Occasional cutting, stripping, crimping | Use dedicated tools for critical or heavy work |
Always match the tool to both wire gauge and insulation type. If a notch doesn’t grip the insulation snugly without compressing or slipping, it’s not the right fit—switch tools or methods. A mismatch risks nicked conductors, wasted wire, and unreliable terminations.
Using Proper Wire Stripper Technique Every Time
Consistent technique is essential to avoid nicked strands, torn insulation, and uneven cuts. Begin by testing your stripper on scrap wire that matches the target gauge and insulation type—this confirms notch sizing and blade alignment before working on live conductors. Measure the required insulation removal length against the terminal or connector, then mark the wire lightly to ensure uniformity across all strips.
Hold the wire firmly with your non-dominant hand, keeping fingers well clear of the blades. Position the insulation fully into the correct notch, then squeeze the handles with steady, controlled pressure—never force the tool. Excessive force can deform solid conductors or sever strands in stranded wire, increasing resistance and creating potential hot spots at connections.
Keep the tool perpendicular to the wire and execute one smooth, deliberate motion. Pulling at an angle tears insulation or scores the conductor beneath. Pause if the cut feels uneven or resistant. After each strip, inspect the exposed conductor for nicks, scrapes, or residual insulation. A clean, even ring around the cut line signals proper blade depth and alignment.
Maintain a clean, well-lit workspace and wear ANSI-rated safety glasses—small copper fragments can eject during stripping. Testing first, applying controlled force, and verifying results builds accuracy and minimizes rework on every job.
Preventing Insulation and Conductor Damage During Stripping
The leading cause of stripped-wire failure is cutting too deeply into the conductor. A properly sized wire stripper isolates the blade to the insulation layer only, preventing contact with copper or aluminum. Even minor nicks reduce cross-sectional area, raise resistance, and create localized heating under load. Inspect every stripped end under bright light or magnification: a smooth, uniform conductor surface is safe; spiral marks, dents, or discoloration indicate overcutting.
Remove only the insulation needed for secure termination—no more, no less. Excess exposed conductor invites short circuits, arc faults, and accidental contact. If too much jacket is removed, cut the wire back and restart rather than masking the error with tape or heat shrink.
Control stripping force and avoid aggressive pulling. Stretching the wire introduces micro-fractures—often invisible initially—that compromise flexibility and long-term reliability. For soft insulations like silicone or TPE, use a sharp blade and light, deliberate pressure; dull blades drag and deform rather than cut cleanly. Rotary strippers excel with round cables, while parallel-blade tools better suit flat ribbon or multi-conductor cables.
In summary: match tool to wire gauge and insulation, set blade depth for insulation thickness only, strip minimal required length, pull straight and smooth, and inspect before termination. This routine preserves insulation integrity and protects conductor performance.
Maintaining Your Wire Stripper for Long-Term Accuracy and Safety
A well-maintained wire stripper delivers cleaner cuts, reduces hand fatigue, and helps prevent conductor damage. After each use, wipe blades with a dry cloth to remove insulation residue, dust, and moisture. Store the tool in a dry, protected location—humidity promotes rust and stiffens pivots. If blades show nicks, burrs, or dullness, sharpen or replace them immediately; a compromised edge transfers damage directly to the conductor.
Check mechanical function regularly: open and close the handles to verify smooth, consistent action. Apply a drop of light machine oil to the pivot point at least once per year—or sooner if movement feels stiff. Never exceed the tool’s rated wire gauge capacity; overloading accelerates blade wear and degrades stripping precision. For high-volume environments, inspect the tool daily; for occasional use, verify condition before each project. Replace worn springs, cracked grips, or misaligned jaws promptly—they affect control, accuracy, and safety.
Clean, sharp, properly stored tools retain calibration longer and support safer, more reliable electrical work—protecting both the conductor and the technician.
FAQ
What factors should I consider when selecting a wire stripper?
Consider the wire’s conductor material, gauge size, insulation type, and if the construction is solid or stranded. Match the tool’s capacity to your specific application.
What’s the importance of proper blade alignment and notch sizing?
Correct blade alignment and notch sizing ensure clean cuts without damaging the conductor, preserving wire performance and safety.
How can I prevent damage to the conductor while stripping wire?
Use a properly sized stripper, control stripping force, and inspect stripped ends to avoid cutting too deeply or stretching the wire.
How often should I maintain my wire stripper?
Daily maintenance is recommended for high-volume environments, while occasional users should check the tool before each project. Sharpen or replace damaged blades immediately.
What are the key signs of overstripping or damage during wire stripping?
Inspect for nicks, spiral marks, or dents on the conductor. These compromise safety and performance.
Table of Contents
- Choosing the Right Wire Stripper for Your Application
- Using Proper Wire Stripper Technique Every Time
- Preventing Insulation and Conductor Damage During Stripping
- Maintaining Your Wire Stripper for Long-Term Accuracy and Safety
-
FAQ
- What factors should I consider when selecting a wire stripper?
- What’s the importance of proper blade alignment and notch sizing?
- How can I prevent damage to the conductor while stripping wire?
- How often should I maintain my wire stripper?
- What are the key signs of overstripping or damage during wire stripping?